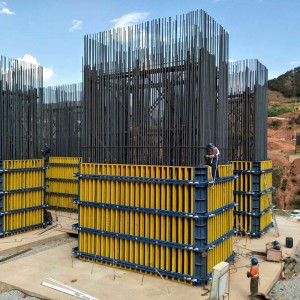
H20 Timber Beam Wall Formwork

Short Description:

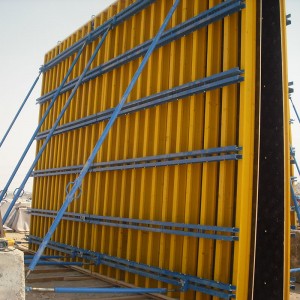
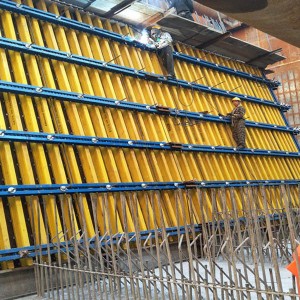
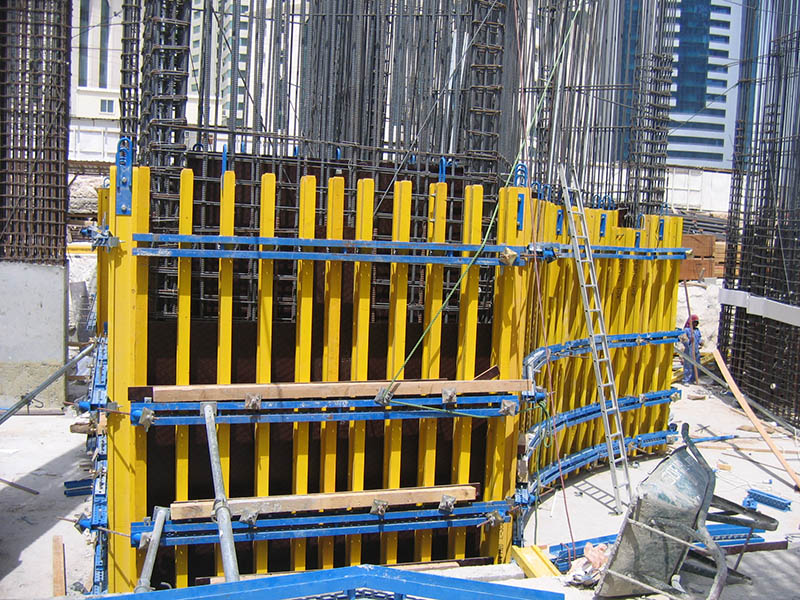
Wall formwork consists of H20 timber beam, steel walings and other connecting parts. These components can be assembled formwork panels in different widths and heights, depending on the H20 beam length up to 6.0m.


Product Detail

Product Details

Wall formwork consists of H20 timber beam, steel walings and other connecting parts. These components can be assembled formwork panels in different widths and heights, depending on the H20 beam length up to 6.0m.

Steel walings required are produced in accordance with specific project customized lengths. The longitudinally-shaped holes in the steel waling and waling connectors result in continuously variable tight connections (tension and compression). Every waling joint is tightly connected by means of a waling connector and four wedge pins.

Panel struts (also called Push-pull prop) are mounted on the steel waling, helping formwork panels erection. The length of panel struts are selected according to the height of the formwork panels.

Using the top console bracket, working and concreting platforms are mounted to the wall formwork. This consists of: top console bracket, planks, steel pipes and pipe couplers.

Advantages

1. The wall formwrok system is used for all types of walls and columns, with high rigidity and stability at low weight.

2. Can choose whichever form face material best meets your requirements - e.g. for smooth fair-faced concrete.

3. Depending on the concrete pressure required, the beams and the steel waling are spaced closer or apart. This ensures optimum form-work design and the greatest economy of materials.

4. Can be pre-assembled on site or before arrival at site, saving time, cost and spaces.

5. Can match well with most Euro formwork systems.

The assembly process

Positioning of walers

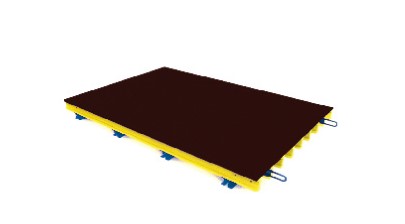
Lay walers on the platform at the distance shown in the drawing. Mark the positioning line on the walers and draw the diagonal lines. Let the diagonal lines of the rectangle that is composed by any two walers equal to each other.

1
2

Timber beam assembling

Lay a timber beam at both ends of the waler according to the dimension shown in the drawing. Mark the positioning line and draw the diagonal lines. Make sure the diagonal lines of the rectangle that is composed by two timber beams equal to each other. Then fix them by flange clamps. Connect the same end of the two timber beams by a thin line as the benchmark line. Lay other timber beams according to the benchmark line and ensure that they are parallel to timber beams on both sides. Fix each timber beam with clamps.

Installing lifting hook on timber beam

Install lifting hooks according to the dimension on the drawing. Clamps must be used on both sides of the timber beam where the hook is located, and ensure that the clamps are fastened.

3
4

Laying panel

Cut the panel according to the drawing and connect the panel with the timber beam by self-tapping screws.

Application


  • Previous:
  • Next:

  • Write your message here and send it to us